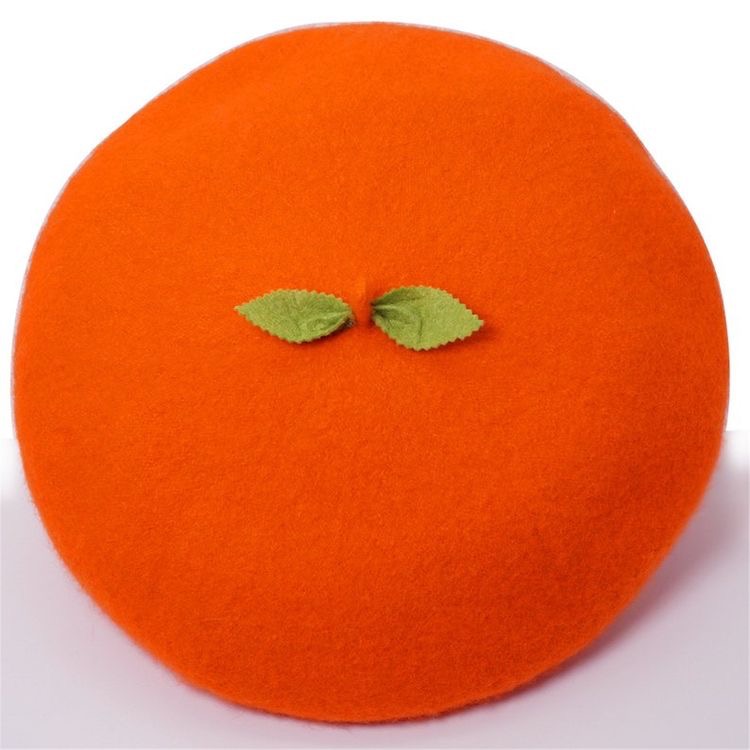
Hello there and Happy Tuesday to you! Here’s a pattern that was inspired by a hat I perceived on Pinterest via Etsy [photo below] I found it to be quite charming and perfect for the Fall so I wanted to emulate a crochet version of it and share!
THE INGREDIENTS
Lion Brand Yarn “Vanna’s Choice” 170 yards/100% acrylic/3.5 oz / Medium 4
H/8 5.00MM Crochet Hook
Yarn Needle
Craft Scissors
Fabric Glue or Hot Glue Gun
Anna Griffin Puffy Fabric Stickers
ABBREVIATIONS/STITCHES UTILIZED
sc=single crochet
hdc=half double crochet
dc=double crochet
tch[s]=turning chain[s]
sts=stitches
sl st= slip stitch
ch=chain
THE PATTERN
RND 1: SC into all of the STS for the entire round, 8 STS total, at the end of the round, SL ST to continue work.
RND 2: HDC into all of the STS TWICE for the entire round, at the end of the round, SL ST to continue work.
RND 3: SC into the first ST once, then into the following ST DC TWICE for the entire round, at the end of the round, SL ST to continue work.
RND 4: HDC into the first TWO STS once, then into the following ST DC TWICE for the entire round, at the end of the round, SL ST to continue work.
RND 5: SC into the first THREE STS once, then into the following ST DC TWICE for the entire round, at the end of the round, SL ST to continue work.
RND 6: HDC into the first FOUR STS once, then into the following ST DC TWICE for the entire round, at the end of the round, SL ST to continue work.
RND 7: SC into the first FIVE STS once, then into the following ST DC TWICE for the entire round, at the end of the round, SL ST to continue work.
RND 8: HDC into the first SIX STS once, then into the following ST DC TWICE for the entire round, at the end of the round, SL ST to continue work.
RND 9: SC into the first SEVEN STS once, then into the following ST DC TWICE for the entire round, at the end of the round, SL ST to continue work.
RND 10: HDC into the first EIGHT STS once, then into the following ST DC TWICE for the entire round, at the end of the round, SL ST to continue work.
RND 11: SC into the first NINE STS once, then into the following ST DC TWICE for the entire round, at the end of the round, SL ST to continue work.

RND 12: SC into all of the STS for the entire round, at the end of the round, SL ST to continue work.
RND13: HDC into all of the STS for the entire round, at the end of the round, SL ST to continue work.
RND 14: SC into all of the STS for the entire round, at the end of the round, SL ST to continue work.
RND 15: HDC into the first EIGHT STS once, then into the following ST HDC2OG for the entire round, at the end of the round, SL ST to continue work.
RND 16: SC into all of the STS for the entire round, at the end of the round, SL ST to continue work.
RND 17: HDC into the first SIX STS once, then into the following ST HDC2OG for the entire round, at the end of the round, SL ST to continue work.
RND 18: SC into all of the STS for the entire round, at the end of the round, SL ST to continue work.
RND 19: HDC into the first FOUR STS once, then into the following ST HDC2OG for the entire round, at the end of the round, SL ST to continue work.
RND 20-RND21: SC into all of the STS for the entire round, at the end of the round, SL ST to continue work. At final round [21] SL ST to complete final work.


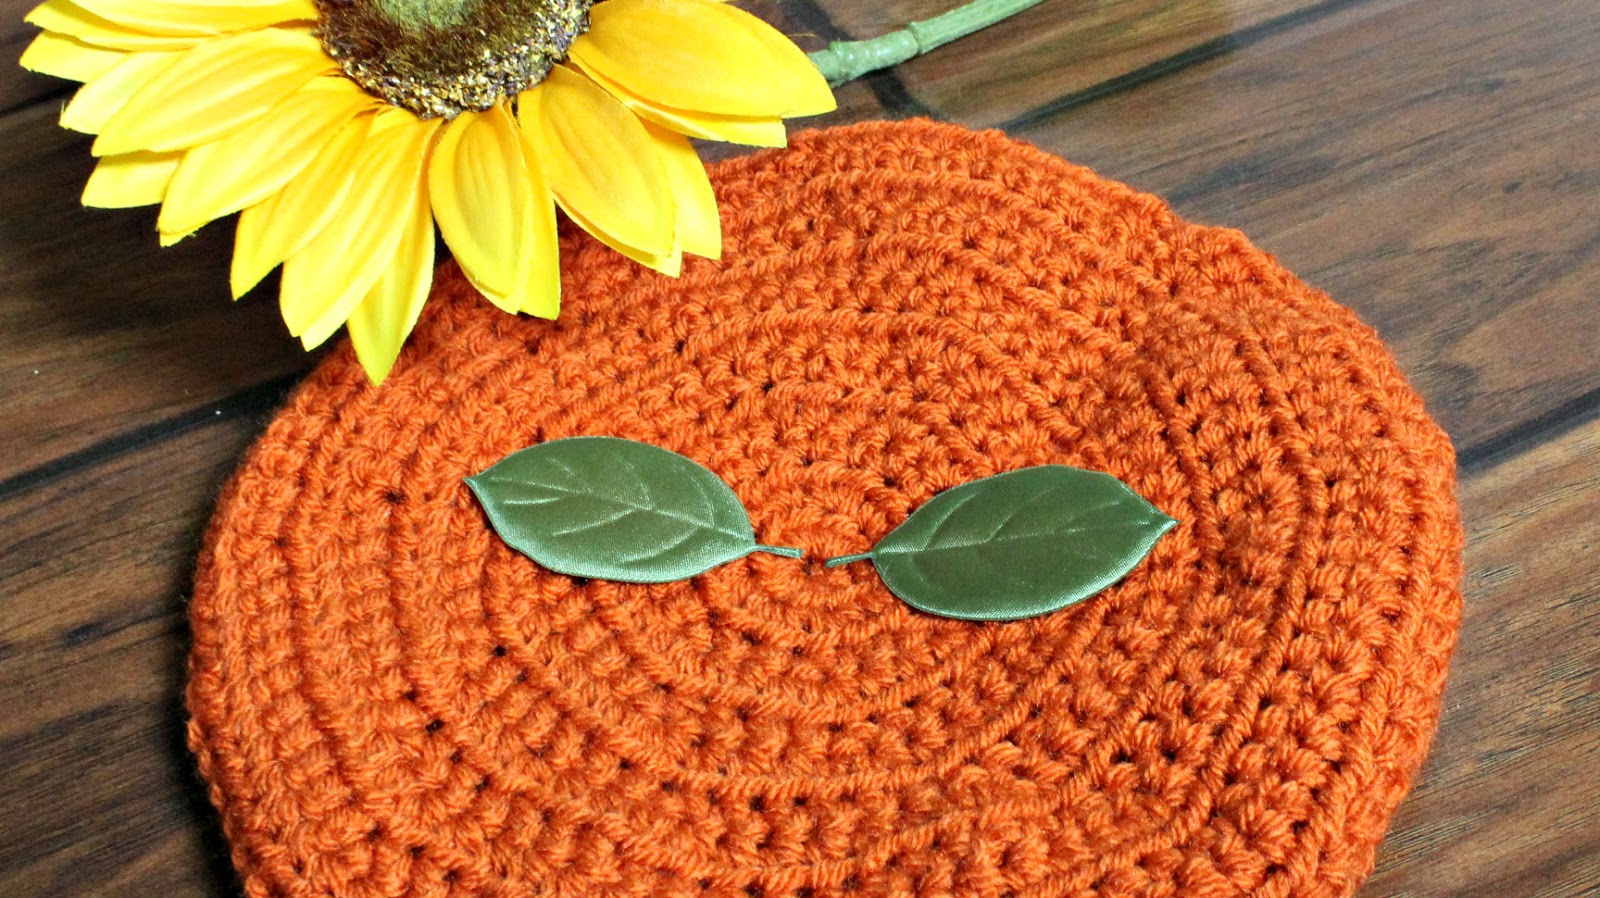
Just used fabric glue and applied the leaves to the center [Round 1] of the hat. Pressing firmly to secure the fabric stickers in place.


HAPPY CRAFTING!
#THEDREAMCROCHET
XX ashlee elle.