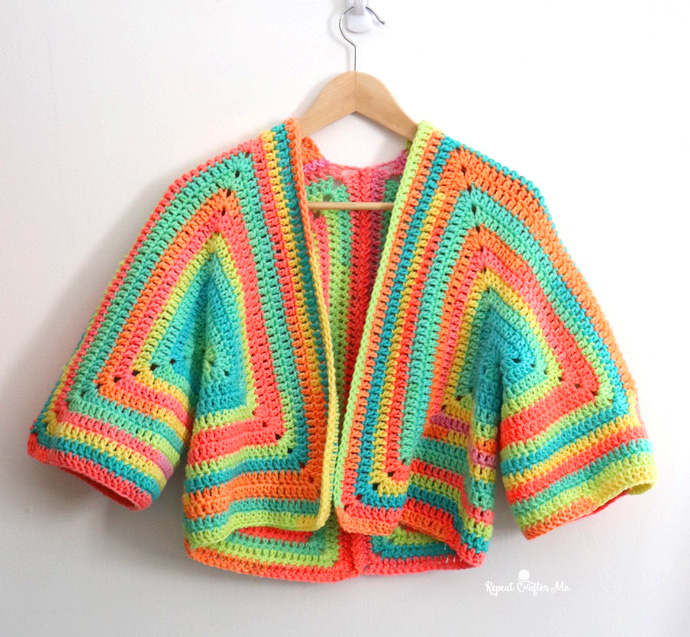
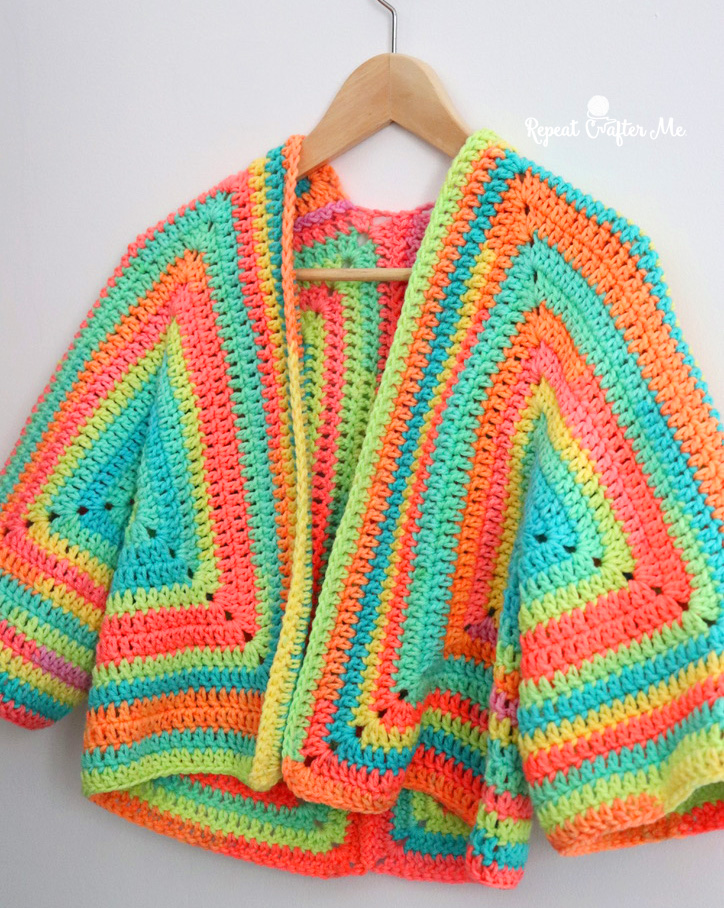
This might just be the easiest cardigan to crochet! It’s made up of two hexagon shapes using the basic double crochet stitch. Keep working in rounds until the hexagon is as big (or small) as you’d like. The two hexagons fold to make the sleeves and body of the cardigan and all you need to do from there is stitch the seam together and you have yourself a cute cardi! If you want to add length to the arms or bottom, that is easy. Just attach your yarn and make rows of double crochets to make it longer!
Red Heart Super Saver yarn in color Retro Stripe is a fan favorite. It gained an even larger audience when it soared in popularity 2 years ago with a viral tiktok beanie and completely sold out across all retailers. The good news is that Yarnspirations has completely restocked their warehouse with plenty of Red Heart Retro Stripe! Be sure to grab these skeins while it’s available!
SHOP RED HEART RETRO STRIPE YARN ON YARNSPIRATIONS.COM
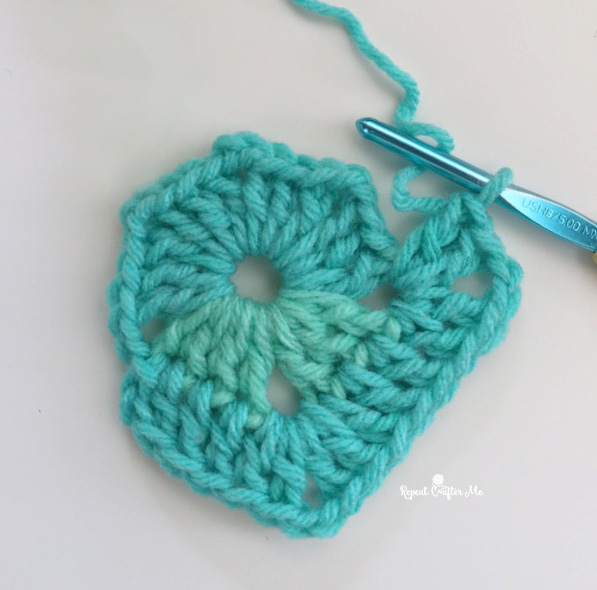
Don’t be intimidated by the hexagon shape. It’s honestly just as simple as a basic DC granny square but with a few more corners. The corners are 2 DC + a chain 2 + 2 DC. Nothing complicated!
Materials:
– Red Heart Retro Stripe Yarn (at least 3 skeins)
– Size H Crochet Hook
– Tapestry Needle
Note: The pattern below fits me which is a size adult small. You will need exactly 3 skeins of Red Heart Retro Stripe to make two Hexagons that have 14 rounds. You will need an additional skein to join your hexagons and add length if desired.
I haven’t tested these sizes but I would estimate that you would need the following amount of rounds to make these larger sizes. You also may want to add length to the bottom of the cardigan and length to the sleeves. I will eventually be adding onto my cardigan and will make a follow-up post detailing that in the next few weeks.
Size Medium: 17 rounds
Size Large: 19:
Size XL: 21
Size XXL: 22
Crochet Hexagon Pattern- Make 2:
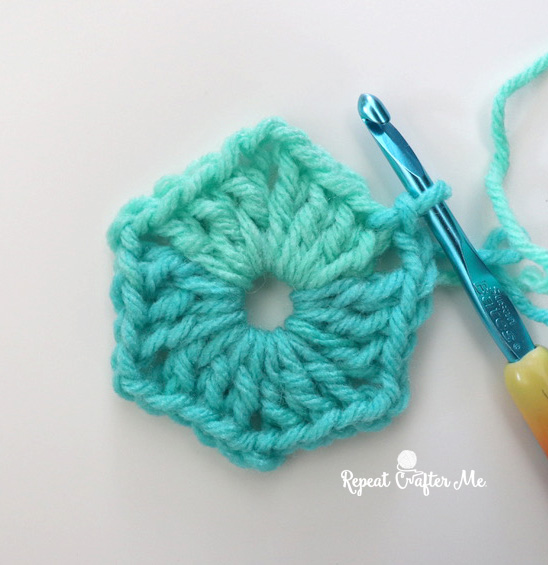
Magic Ring, chain 2 (does not count as your first DC) and make 3 DC, chain 2, 3 DC, chain 2, 3 DC, chain 2, 3 DC , chain 2, 3 DC, chain 2, 3 DC, chain 2 and join to first DC, chain 2
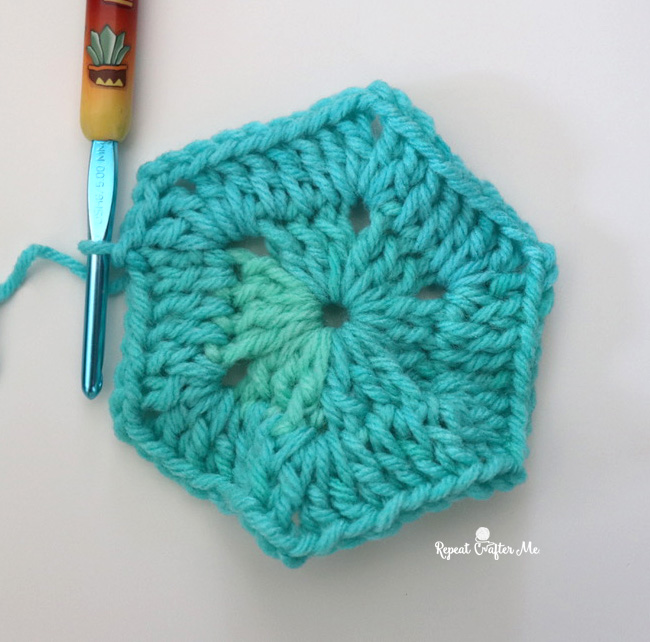
Round 2-14: DC in each DC stitch from previous round, 2 DC + chain 2 + 2 DC in each chain 2 corner stitch, join to first DC, chain 2
Keep going to make a larger cardi!
I am going to make one form my daughter Zoe who is a size 8 in kids. I will be stopping after 10 rounds for her size.
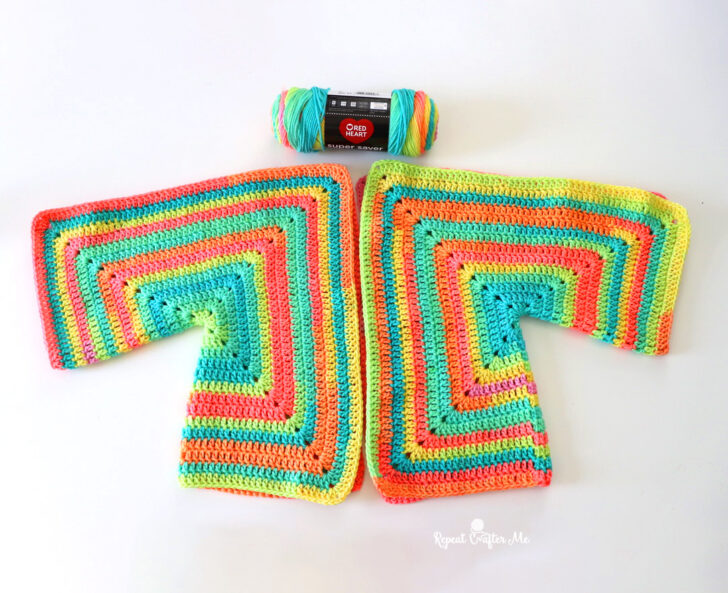
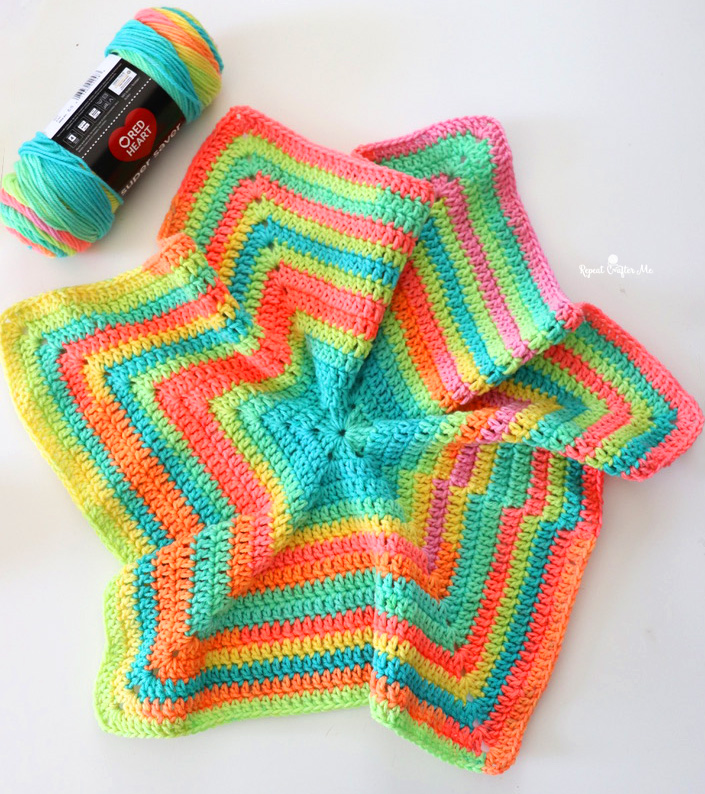
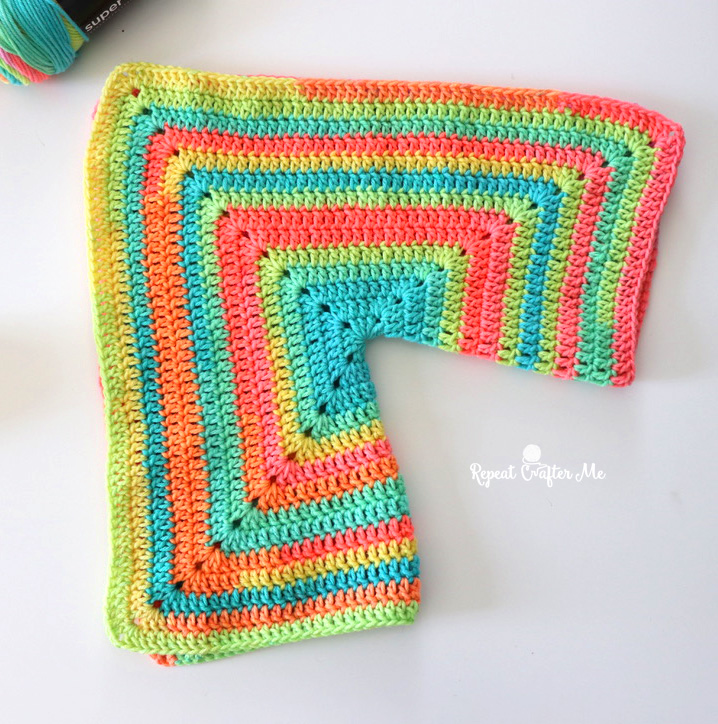
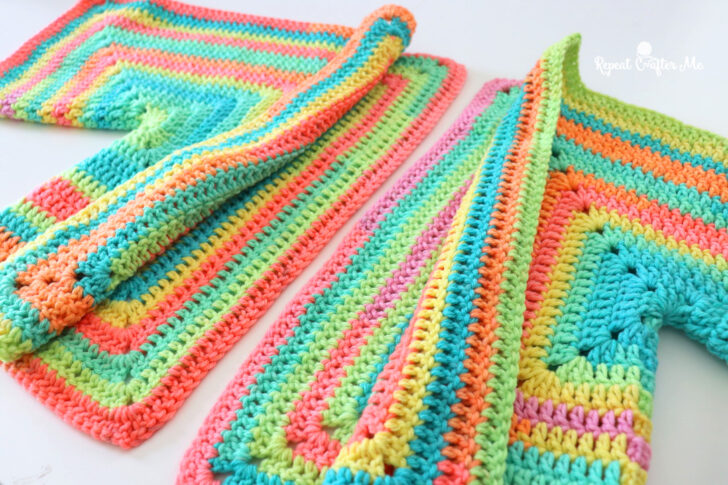
When you have finished your hexagons, fold them so 3 of the points match up. It should look like the photo below and you can see that it takes the shape of one arm and one side of the body of the cardigan.
Lay your two folded crochet hexagons together like the photo below and stitch up the middle back seam to join them. I used the slip stitch join technique. You can find a tutorial of the slip stitch join HERE on my YouTube Channel. You can also stitch the cardigan seams together with a tapestry needle and sew it using the whip stitch or mattress stitch.
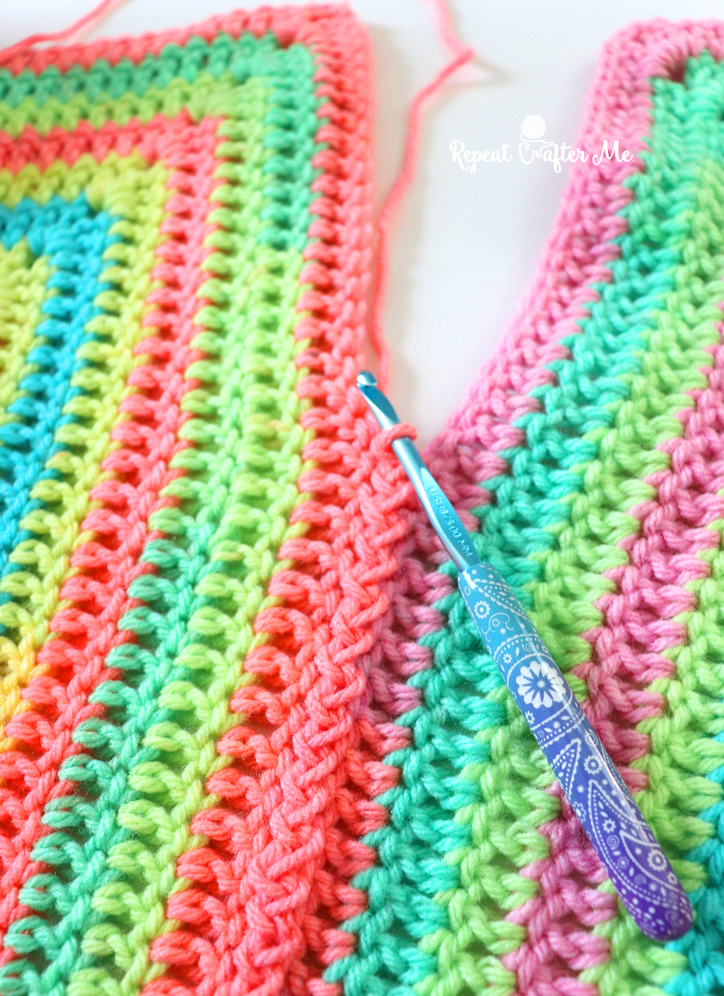
And look how great the other side of the join looks!
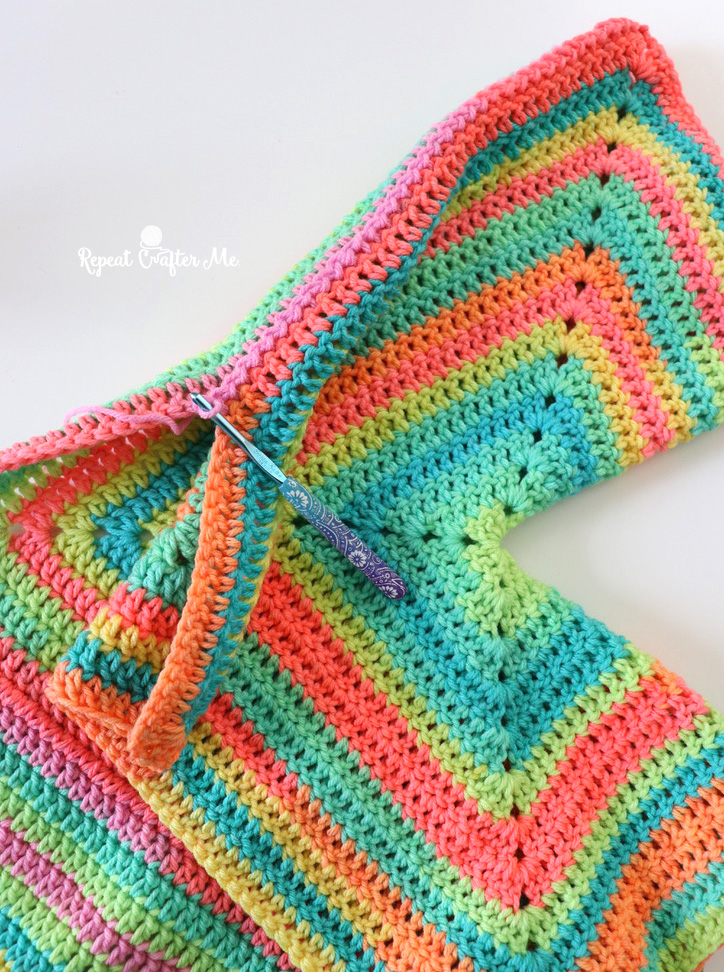
Now join the top seam of the sleeves using the same slip stitch join technique.
Note: At this point I turned the cardigan inside out so the flatter part of the seam would be on the outside. Either way it will look great so if you are a beginner and flipping pieces inside-out seems too confusing, just stitch it up as is!
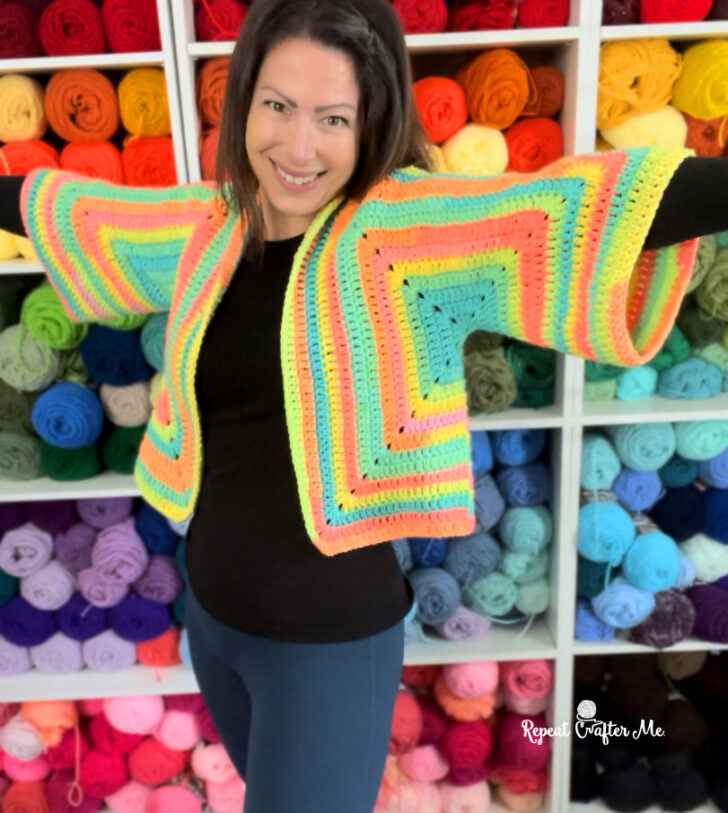
Look how fabulous and easy this was!
Let me know if you want to see a complete video tutorial of this! It will be easier for me to film with a smaller size. If there is enough interest, I will put it on my to-do list!
——> MY NEW CROCHET BOOK IS AVAILABLE FOR PRE-ORDER! <——
Pre-orders are crucial for book sales. Your support means the world to me!