Designer : Olga Romahina
Hello everyone who loves amigurumi…
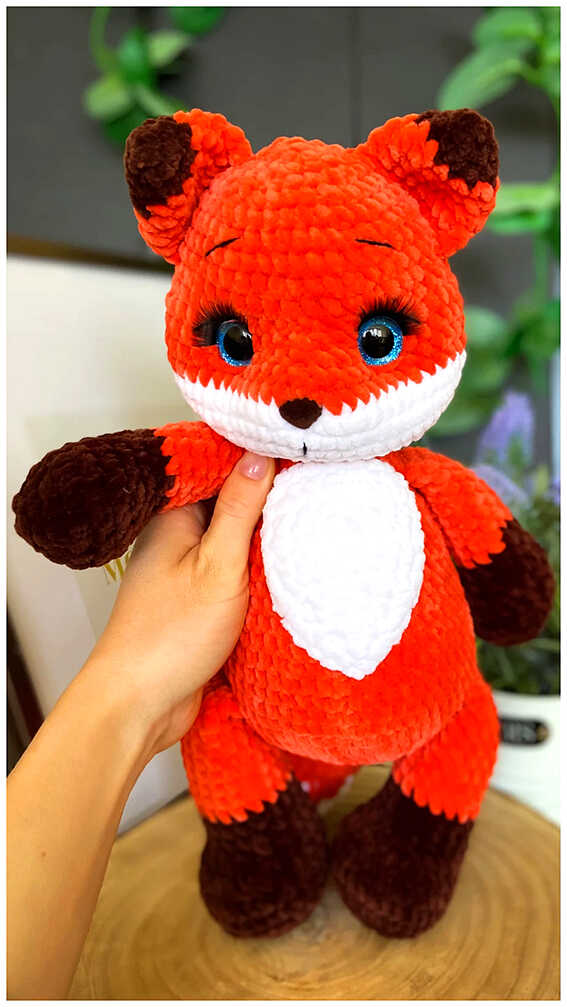
Today I shared the amigurumi fox crochet pattern for you. Below you will find a step-by-step tutorial of this pattern and you will complete it without any difficulty. Thanks to the creator for this cute pattern.

Amigurumi cats, amigurumi dolls, amigurumi dogs, amigurumi unicorns, amigurumi lambs, amigurumi dinosaurs, amigurumi foxes, amigurumi bears, amigurumi giraffes, amigurumi pigs, amigurumi birds, amigurumi bunny, amigurumi elephants, amigurumi hippos, amigurumi monkeys… All the amigurumi toy crochet patterns and ideas you are looking for are here. Have a great time…
Materials
Hook suitable for your yarn.
YarnArt Jeans No. 85 (or any color of your choice from the orange-red palette) for the body.
YarnArt Jeans No. 03 for muzzle and tail tip.
Some black or dark brown brow thread. Take it thinner than the main one from which you will knit a toy. I used “Openwork” from “Pekhorka” No. 02 (black 280 m / 50 gr.)
Filler.
Eyes on a secure fastening 10 mm, or sewn on, glued (beads, half beads – your choice).
Muzzle on a secure mount 12*10 mm (optional, can be embroidered).
Needle for sewing details, scissors, pins, stitch marker.
Abbreviations
MR: Magic ring
Sc: Single crochet
Ch: Chain
Inc: Increase
Dec: Decrease
Slst: Slip stitch
*The height of the crochet amigurumi toy is about 20 cm.
*The feet and body of the fox are knitted as a single leg. Its arms, tail and head are embroidered separately.

BABY CROCHET FOX AMIGURUMI FREE PATTERN
Arms (make 2)
We crochet with the main color.
1: 5 sc in MR
2: 5 inc = 10
3-18: = 10 sc
Stuff only the bottom part. Fold in half and crochet 5 sc for both walls. Fasten the thread and cut.
We will tie the arms.
Tail
We start crocheting in beige.
1: 6 sc in MR
2: (1 sc, inc)*3 = 9
3: (2 sc, inc)*3 = 12
4: (3 sc, inc)*3 = 15
5: (4 sc, inc)*3 = 18
6: (5 sc, inc)*3 = 21
7: 21 sc
Change color to main.
8-25: 21 sc
26: (5 sc, dec)*3 = 18
27: (4 sc, dec)*3 = 15
28: (3 sc, dec)*3 = 12
29: (2 sc, dec)*3 = 9
Stuff is not tight, fold in half, tie together for both walls 4 sc. Fasten the thread and cut.
Head
We start crocheting with the main color.
1: 6 sc in MR
2: 6 inc = 12
3: (1sc, inc)*6 = 18
4: (2 sc, inc)*6 = 24
5: (3 sc, inc)*6 = 30
6: (4 sc, inc)*6 = 36
7: (5 sc, inc)*6 = 42
8: (6 sc, inc)*6 = 48
9: (7 sc, inc)*6 = 54
10: (8 sc, inc)*6 = 60
11-16: 60 sc
17: (9 sc, inc)*6 = 66
18: 20 sc, 2 inc, 31 sc, 2 inc, 11sc = 70
To make it easier to navigate later when installing the peephole, place additional markers on both sides in the 18th row, between two increments.
19: 21 sc, 2 inc, 33 sc, 2 inc, 12 sc = 74
Change color to beige.
20-21: 74 sc
At this stage, we install the eyes (diameter 10 mm) between the 18th and 19th rows. Between the eyes 11 sc. The distance from the side additional markers to the installation site along the 18th row of 12 sc (we count the increase as 2 loops) Now the additional markers can be removed.
22: 19 sc, 4 dec, 29 sc, 4 dec, 10 sc = 66
23: (9 sc, dec)*6 = 60
24: (8 sc, dec)*6 = 54
25: (7 sc, dec)*6 = 48
26: (6 sc, dec)*6 = 42
27: (5 sc, dec)*6 = 36
28: (4 sc, dec)*6 = 30
29: (3 sc, dec)*6 = 24
Crochet an additional 3-4 sc to finish knitting at the back in the middle of the head. Fasten the thread, leave about 60 cm for embroidering decorative stitches on the forehead. Stuff your head tightly.
Ears (make 2)
1: 6 sc = 6
2: (1 sc, inc)*3 = 9
3: (2 sc, inc)*3 = 12
4: (3 sc, inc)*3 = 15
5: (4 sc, inc)*3 = 18
6: (2 sc, inc)*6 = 24
7: (3 sc, inc)*6 = 30
8-9: 30 sc
10: (3 sc, dec)*6 = 24
11: 24 sc
12: (6 sc, dec)*3 = 21
Crochet an additional 1 sc, fold in half and crochet 10 sc together, capturing both walls of the ear. Leave the thread for sewing.
Muzzle
1: 6 sc = 6
2: (1 sc, inc)*3 = 9
3: (2 sc, inc)*3 = 12
4: (3 sc, inc)*3 = 15
5: (4 sc, inc)*3 = 18
6: 18 sc.
We fix the thread, leave about 50 cm for sewing.
We put the muzzle between 1 and 2 rows or embroider (I have a spout on a safe mount 12 * 10 mm).
Head decoration
Mark the places and sew the ears along the line of the rows, opposite the side increases. Adjust the height to your liking.
I sewed the bottom of the ears between rows 13 and 14.
Now attach the muzzle, pin it with pins, sew, slightly stuffing in the process.
Using the beige thread left after the head is completed, embroider decorative stitches on the forehead. Embroider the whites of the eyes with white thread. If desired, embroider the eyebrows with black.
Legs
1: 6 sc in MR
2: 6 inc = 12
3: (1 sc, inc)*6 = 18
4-5: 18 sc
6: 3 sc, 6 dec, 3 sc = 12
7-8: 12 sc
9: (1 sc, inc)*6 = 18
10-11: 18 sc
12: (2 sc, inc)*6 = 24
13: 24 sc
On the first leg, temporarily fix the thread and cut it, leaving the tip about 30 cm. We do not cut it on the second. We put the paws side by side and determine the degree of “clubfoot” of the toy. We knit several additional columns on the second foot to the junction (to the inside). I have it 6 sc.
Now we return to the first foot and we knit the same number of additional columns.
We do this so that the legs are the same height. Now we can fasten the thread and cut it short. We remove the marker threads. On the first paw, we count back the number of additional columns you added, increased by 2 times. In my case, it is 12. We connect the first foot with the second 3 air loops in this place.
Body
We stuff the body tightly, in the process of crocheting.
1: 24 sc on the first paw, 3 sc along the chain from ch, 24 sc in the second paw, 3 sc along the chain from ch. Total number of loops in a row = 54
I put a marker.
2: (8 sc, inc)*6 = 60
3-4: 60 sc
5: (9 sc, inc)*6 = 66
6-8: 66 sc
Then we fix the tail.
9: 62 sc, 4 sc with ponytail = 66
Please note that your crocheting offset may vary. In this case, place the ponytail at the back in the center, adding or not finishing the sc.
10-13: 66 sc
14: (9 sc, dec)*6 = 60
15: 60 sc
16: (8 sc, dec)*6 = 54
17: 54 sc
18: (7 sc, dec)*6 = 48
19: 48 sc
20: (6 sc, dec)*6 = 42
21: 42 sc
22: (5 sc, dec)*6 = 36
23-24: 36 sc
25: (4 sc, dec)*6 = 30
26-27: 30 sc
In the 28th row we will crochet the upper paws.
Stuff the main part of the calf quite tightly, but not completely. Leave about 1 cm so that when knitting the legs you are comfortable and the filler does not fall between the posts. Determine knitting places strictly on the sides: 5 sc together with paws, 10 sc between them.
28: 8 sc, 5 sc together with the foot, 10 sc, 5 sc together with the foot, 2 sc = 30
29: 30 sc
30: (3 sc, dec)*6 = 24
Crochet a few more stitches and fasten the thread at the back along
the center of the back.
Leave about 50 cm for sewing on the head. Remove the marker thread. Stuff the part tightly to the end. When sewing on the head, do not forget to knock the filler into the neck.
Congratulations, your crochet fox is ready!
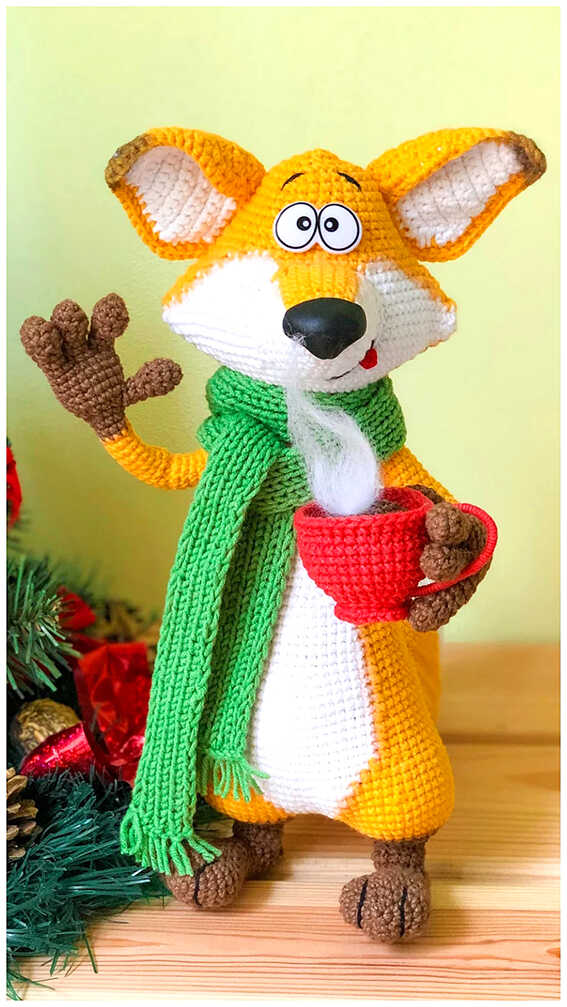
You can decorate your fox with accessories as you wish.
More amigurumi fox ideas: